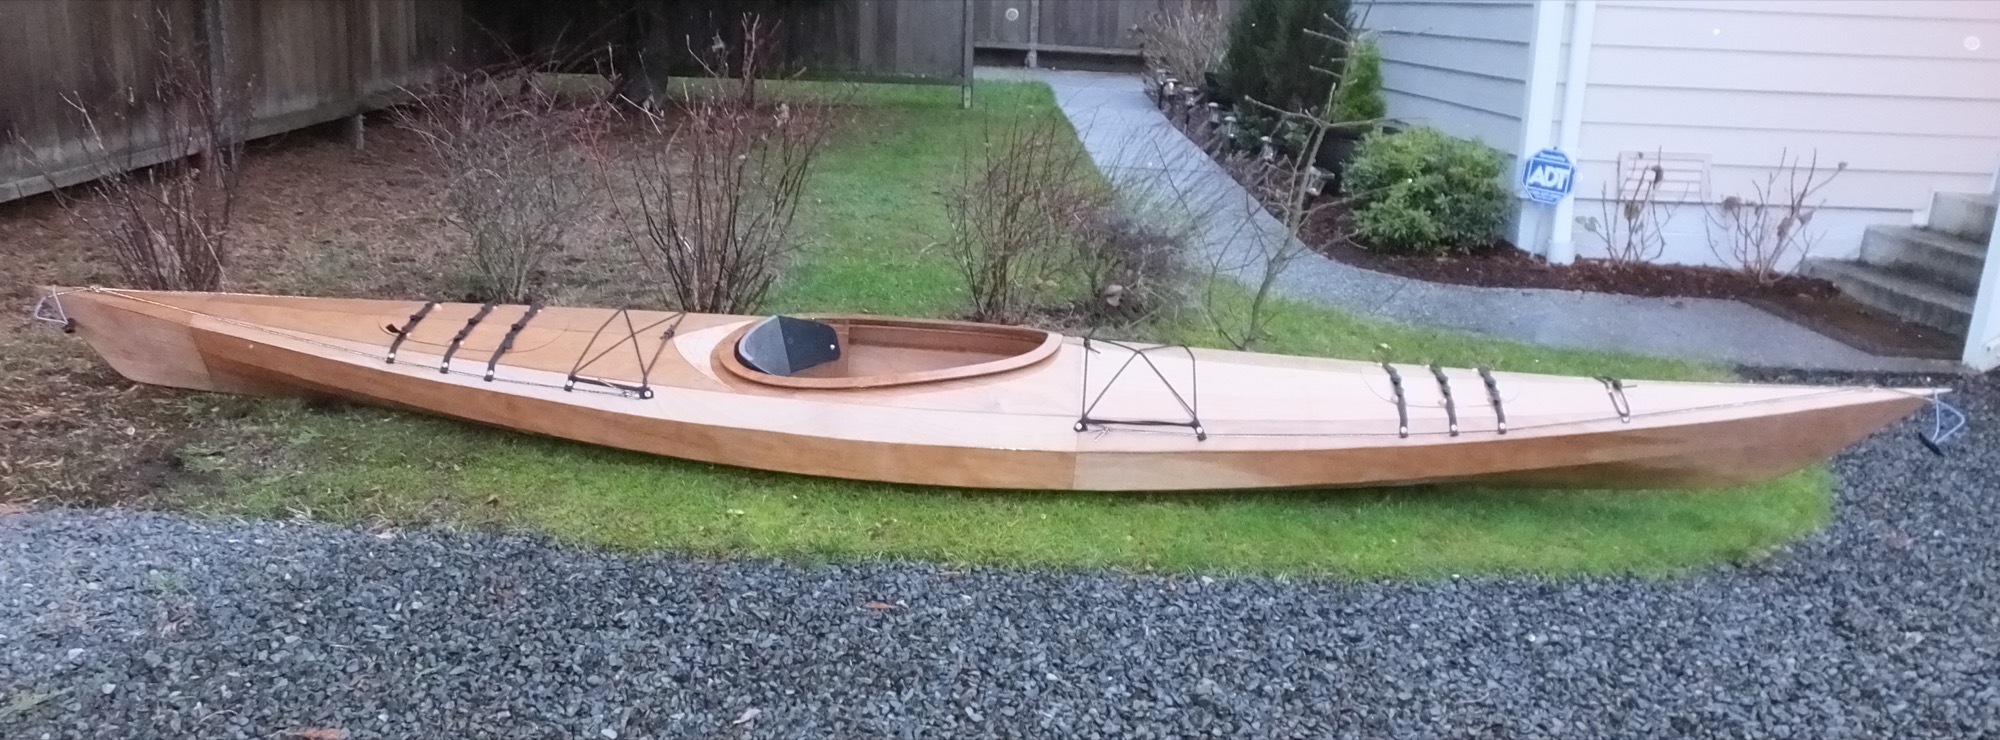
Stitch and Glue Boat Plans: Building Your Dream Vessel
Hey there, fellow boat builders and woodworking enthusiasts! So you're thinking about tackling a stitch-and-glue boat project? That's awesome! It's a fantastic way to build a strong, lightweight, and surprisingly affordable boat. This guide will walk you through the process, demystifying the techniques and helping you confidently navigate your build.
Understanding Stitch and Glue Construction
Stitch and glue is a remarkably simple yet effective boatbuilding method. Instead of complex woodworking joints, you essentially "stitch" together pre-cut wooden strips (usually marine plywood or cedar strip) using wire or string. Then, you glue the seams, creating a strong and watertight hull. The "stitching" is temporary; once the glue is dry and cured, you remove the stitches. It's like making a giant, really cool puzzle!
Why Choose Stitch and Glue?
There are tons of reasons why this method is popular:
- Easier than traditional methods: No need for advanced joinery skills.
- Faster build times: The process is generally quicker than other techniques.
- Lightweight and strong: Results in a durable boat that’s easy to handle.
- Affordable materials: Marine plywood is readily available and relatively inexpensive.
- Great for beginners: The forgiving nature of the technique makes it ideal for first-time builders.
Essential Tools and Materials
Before you dive in, you'll need a few key things. This isn't an exhaustive list, but it covers the basics:
- Marine plywood: Choose a high-quality plywood specifically designed for marine use.
- Epoxy resin and hardener: The glue that holds everything together. Make sure to get the right ratio!
- Stitching wire or string: Stainless steel wire is a popular choice.
- Drill with various drill bits: For pilot holes and other tasks.
- Clamps: Lots and lots of clamps! You'll need these to keep everything tight while the glue dries.
- Safety glasses and gloves: Always prioritize safety!
- Boat plans: This is crucial! Get a good set of plans designed for stitch and glue construction. (Many are available online!)
The Stitch and Glue Process: A Step-by-Step Overview
The process generally involves these stages:
- Prepare the plans and materials: Carefully review your plans and cut the plywood pieces to size.
- Stitch the pieces together: Use your chosen wire or string to stitch the pieces together according to the plans. This creates the basic hull shape.
- Apply epoxy: Generously apply epoxy to the seams, ensuring complete saturation.
- Clamp and cure: Use clamps to hold the pieces firmly in place while the epoxy cures. Follow the manufacturer's instructions for curing time.
- Remove stitches: Once the epoxy is fully cured, carefully remove the stitching wire.
- Fair the hull: Sand and smooth the hull to prepare it for finishing.
- Add finishing touches: This includes applying paint, varnish, or other protective coatings.
Tips for Success
Here are a few helpful hints for a smooth build:
- Work in a well-ventilated area: Epoxy fumes can be strong.
- Take your time: Rushing the process can lead to mistakes.
- Follow the plans meticulously: Accuracy is key.
- Don't be afraid to ask for help: Join online forums or local boatbuilding groups for support.
Commonly Asked Questions
Q: What type of plywood is best for stitch and glue?
A: Marine-grade plywood is essential. Look for exterior-grade plywood with a waterproof glue.
Q: How long does it take to build a stitch and glue boat?
A: The build time varies greatly depending on the boat's size and complexity. It can range from a few weeks to several months.
Q: Is stitch and glue suitable for beginners?
A: Absolutely! It's a beginner-friendly method, although experience with basic woodworking tools is helpful.
Q: Where can I find stitch and glue boat plans?
A: Many online resources offer plans, or you can purchase plans from reputable boatbuilding suppliers.
Happy building! Remember to share your progress â€" we'd love to see your creations!


No comments:
Post a Comment
Note: Only a member of this blog may post a comment.